How to Manually Install SSL in Customer Portal
Ensuring secure online communication is critical, and manually installing SSL certificates offers a reliable method to achieve this. SSL certificates encrypt the data exchanged between a user's browser and your web server, protecting sensitive information from interception. By opting for manual installation, administrators gain greater control over configuration settings, allowing for tailored security measures that align with the specific needs of the website—while also avoiding common pitfalls associated with automated setups.
Manually Installing SSL in Customer Portal
Important: Before you begin, you should have these files from your SSL provider:
- SSL Certificate file – issued for your domain
- Private Key (.key) – generated when you created the CSR
- Certificate Authority (CA) Bundle / Intermediate Certificate (.ca-bundle) – provided by the SSL issuer
-
Log in to your Customer Portal.
-
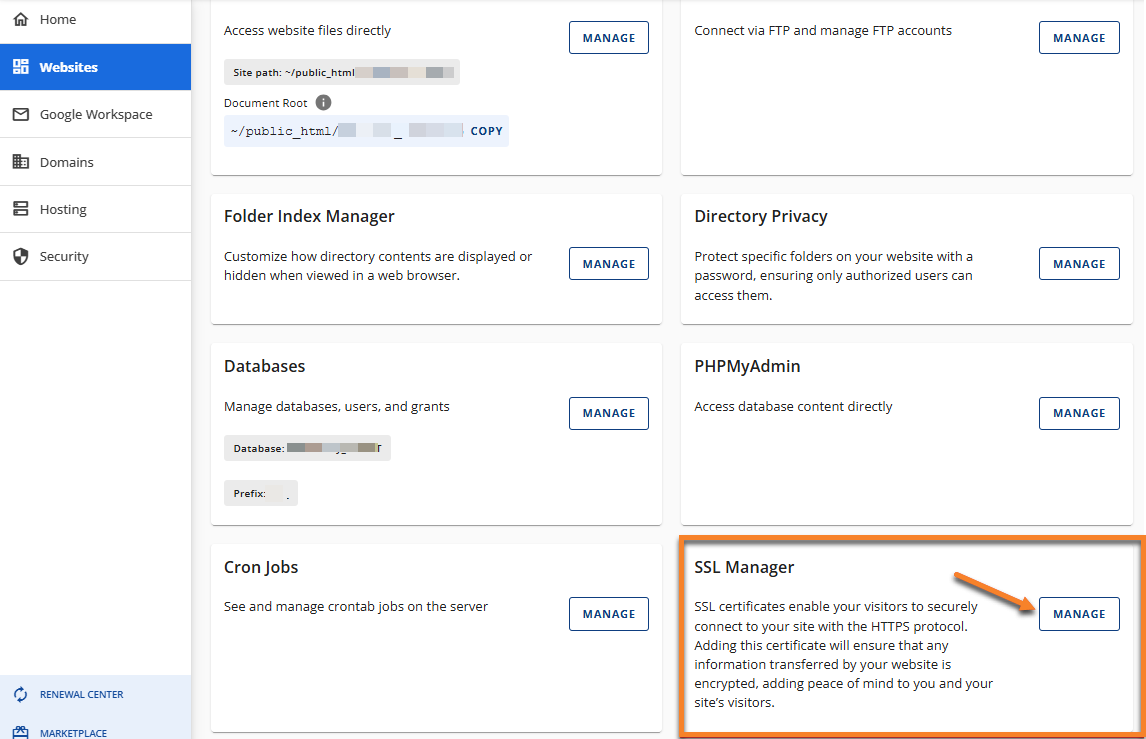
In the left navigation menu, click on Websites.

-
Choose the website you need the SSL manually installed and click on SETTINGS.

-
Click on the ADVANCED tab.

-
Locate the SSL Manager card and click the MANAGE button.
-
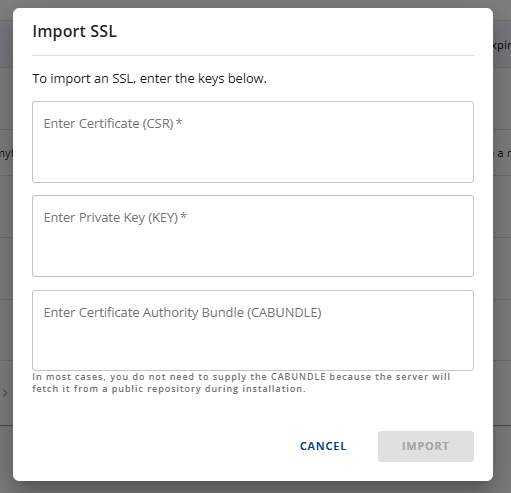
Your domains will be listed where you will see the status if they are protected with an SSL or not. Find the domain you want to install the SSL manually. Click the ADD SSL button and choose Import an SSL.

-
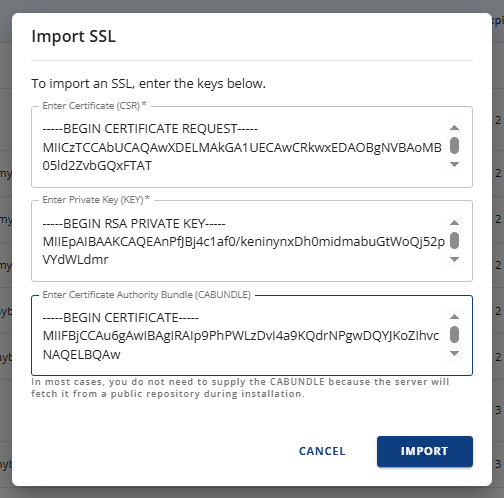
A pop-up window will appear, prompting you to enter the Certificate (CSR) , Private Key (KEY) , and Certificate Authority Bundle (CABUNDLE) of your SSL.
-
Copy the CSR , Private Key , and CABUNDLE and paste them into their respective field, then click IMPORT.