cPanel icon Settings via Feature Manager
The feature manager allows you to disable/enable icons inside each client's cPanel. Once you build a feature list, you should edit the client's package and add the new feature list.
How to set up a feature list
- Log in to your WHM.
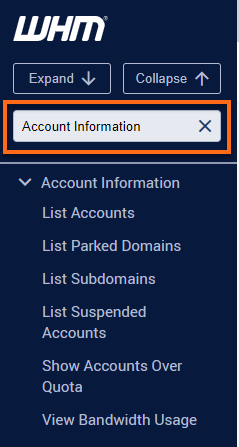
- Look for the Packages section. The quickest way is by typing the keyword on the Search box on the left-side panel.
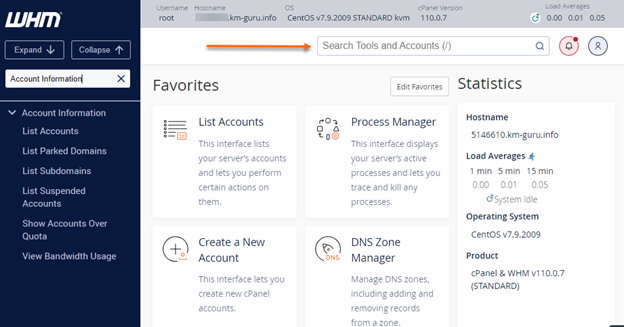
 Alternatively, you can use the Search box at the top.
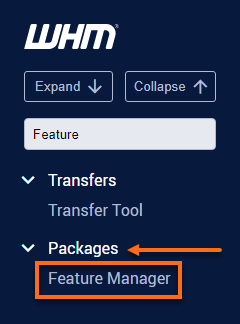
- Select Feature Manager.
You can also manually locate and expand the Package section on the left-side panel, then click Feature Manager from the list.
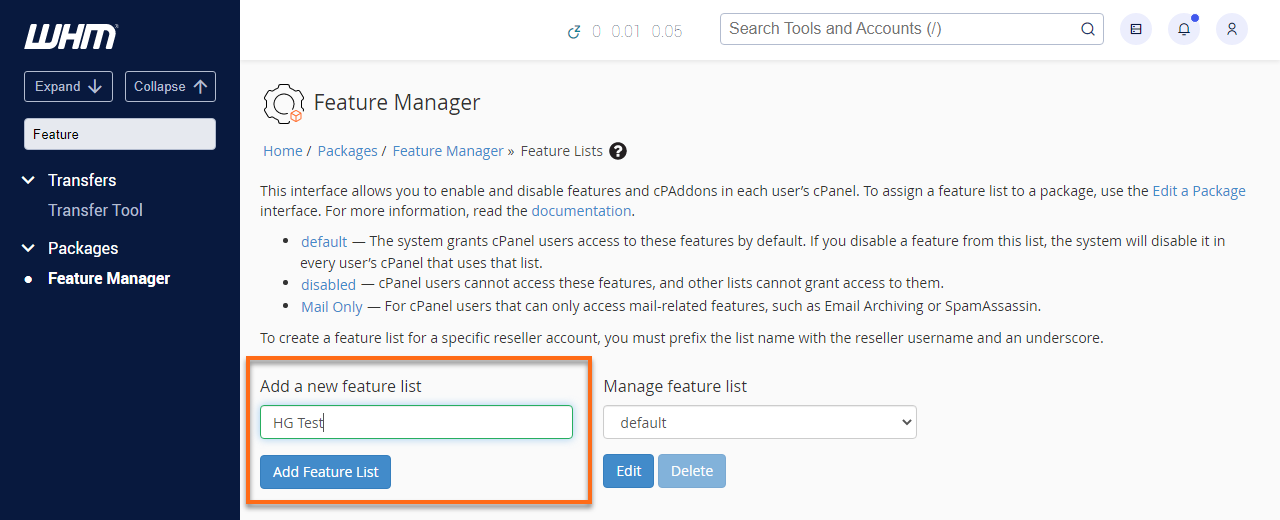
- Type a new feature list name and hit theAdd Feature List button.
- Select all of the icons you want, and deselect all of the icons you don't want.
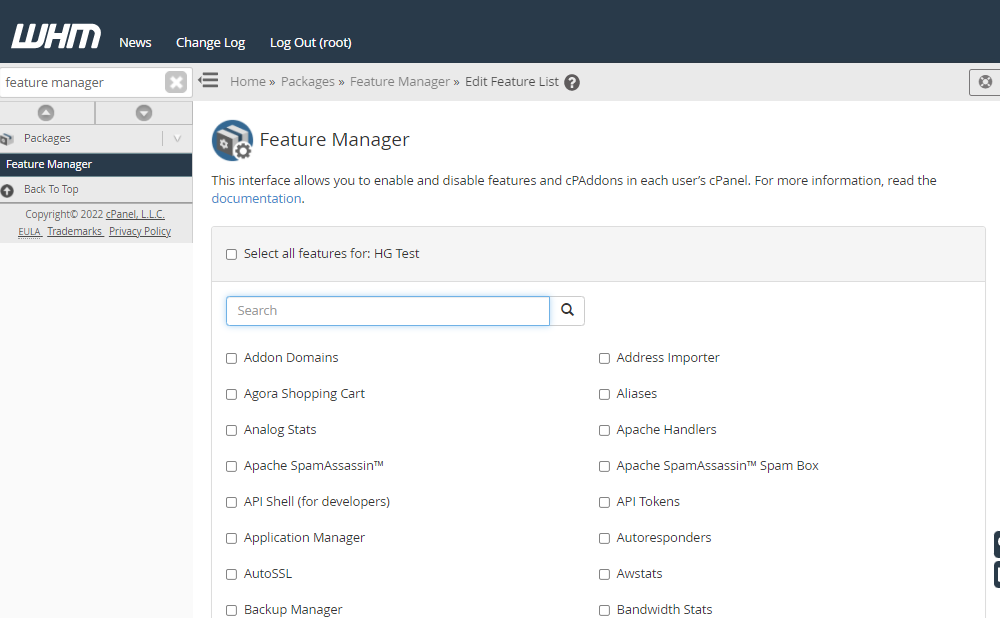
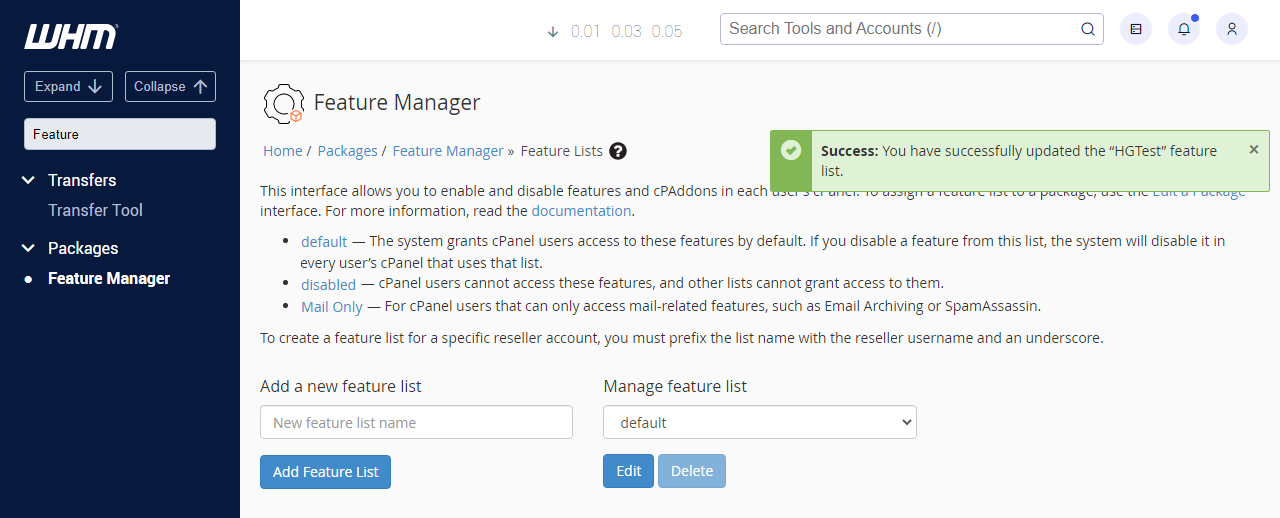
- Hit the Save button.
- Congratulations! You successfully set up a feature list.
How to assign a feature list to a package
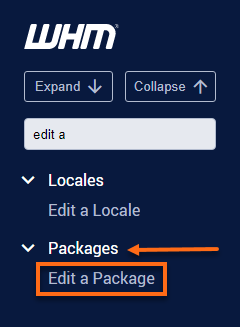
- To assign a feature list to a package, searchEdit a Package in the left panel.
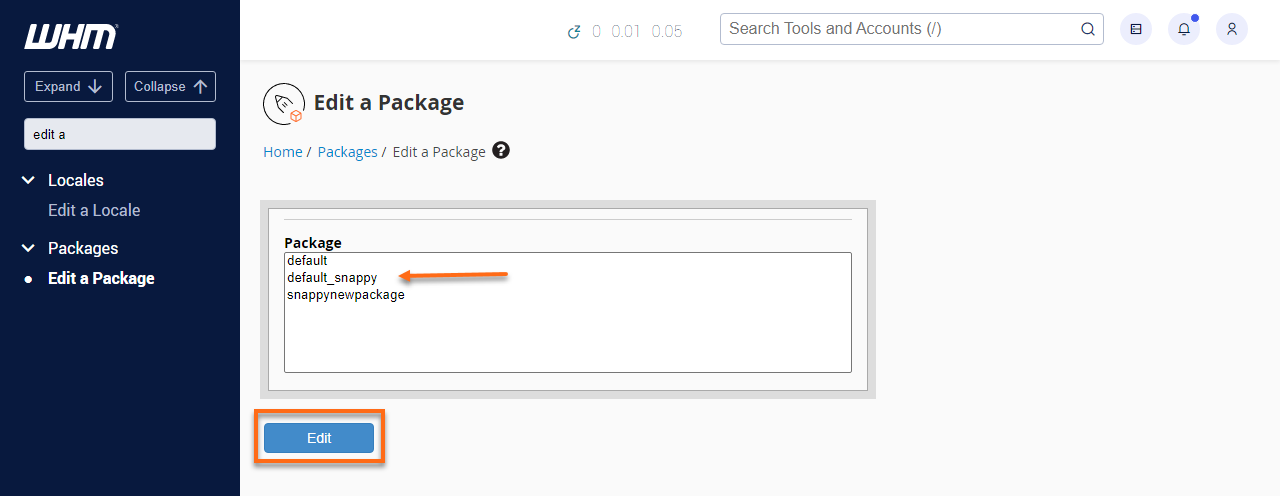
- Select the package name your domain uses, and then hit the Edit button.
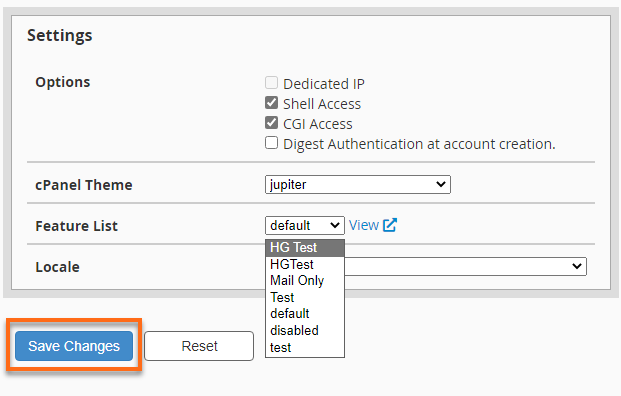
- Navigate to the Settings section. Click on the dropdown to show the available feature list.
- Select the new feature list name and click theSave Changes button.
- Now all domains which use that package will have the cPanel icons you selected.
Need further assistance? HostGator's Support is here to help. Please reach out to us via phone or chat so we can assist you!