Getting Started with Ecomdash in WordPress
Ecomdash is a helpful tool for online sellers, providing daily operations automation, saving time, and increasing efficiency. This article will cover the following:
- Setting up Ecomdash ↴
- Marketplace Selling ↴
- Connect Marketplaces ↴
- Navigating the Ecomdash Dashboard ↴
- Adding Product Listing Details ↴
Setting up Ecomdash
This version of Ecomdash is the 2.0 version, which includes the new dashboard layout. Some customers with existing Ecomdash accounts or the legacy version of Ecomdash may lose some previous functions. Once you are done adding Ecomdash, you'll need to enable Ecomdash for new WordPress installations. Once WordPress is installed, go to the HostGator Plugin and enable Ecomdash on the Store tab.
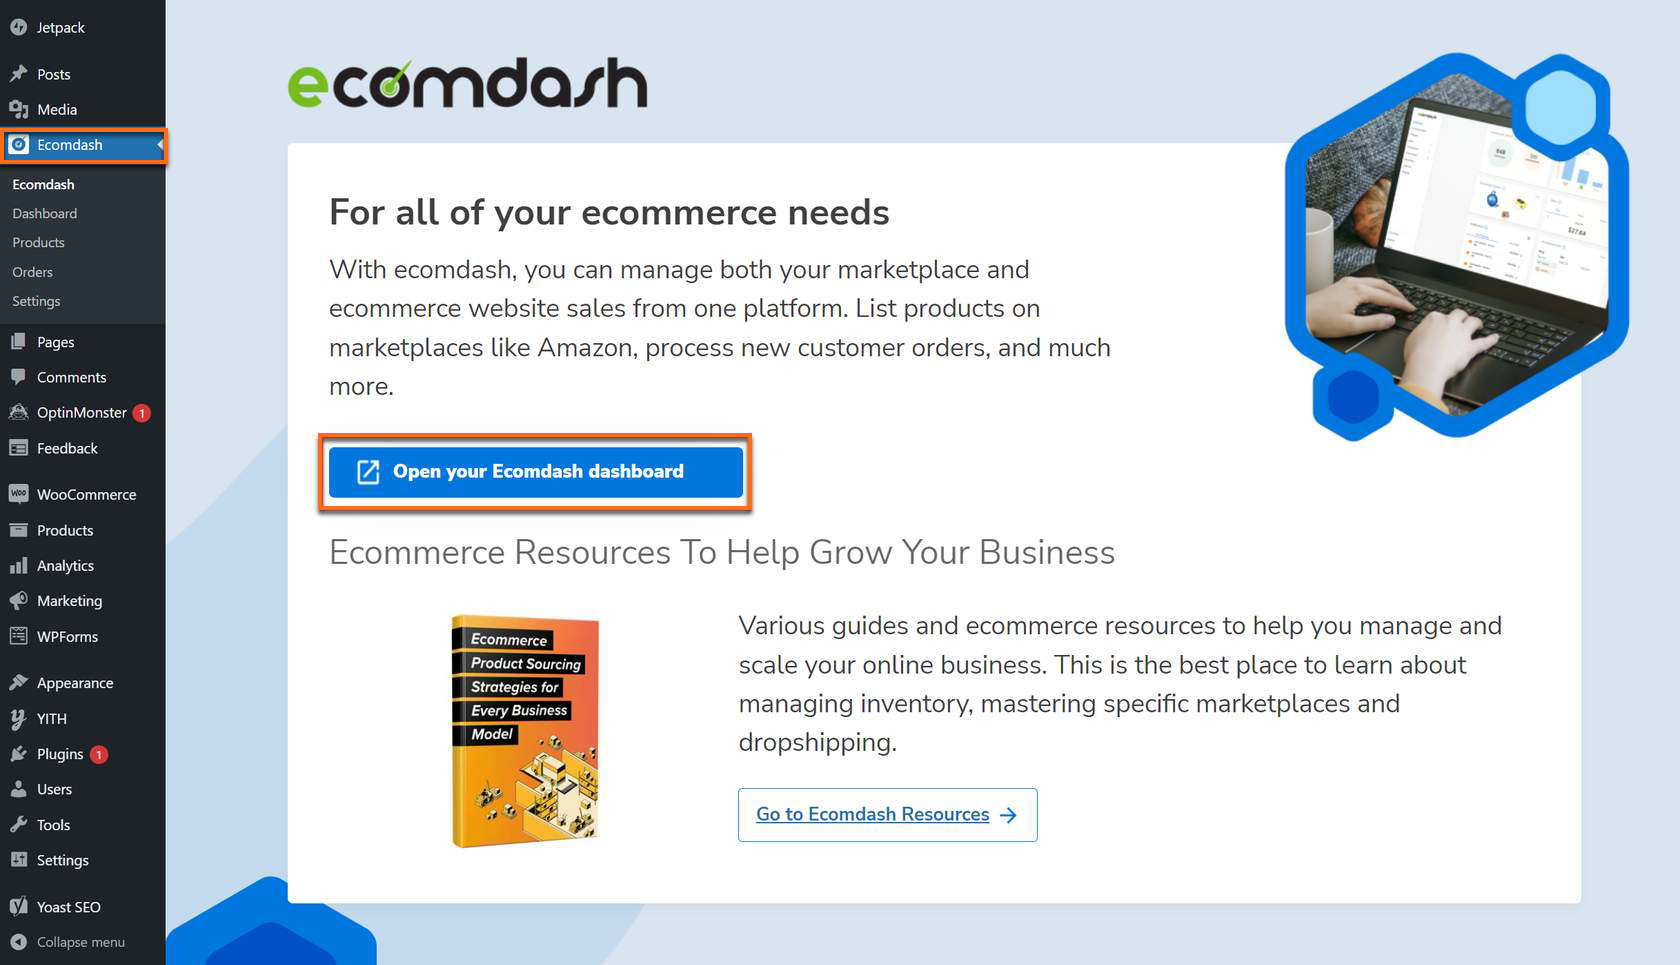
- On the left-hand navigation menu in the WordPress dashboard, click Ecomdash.

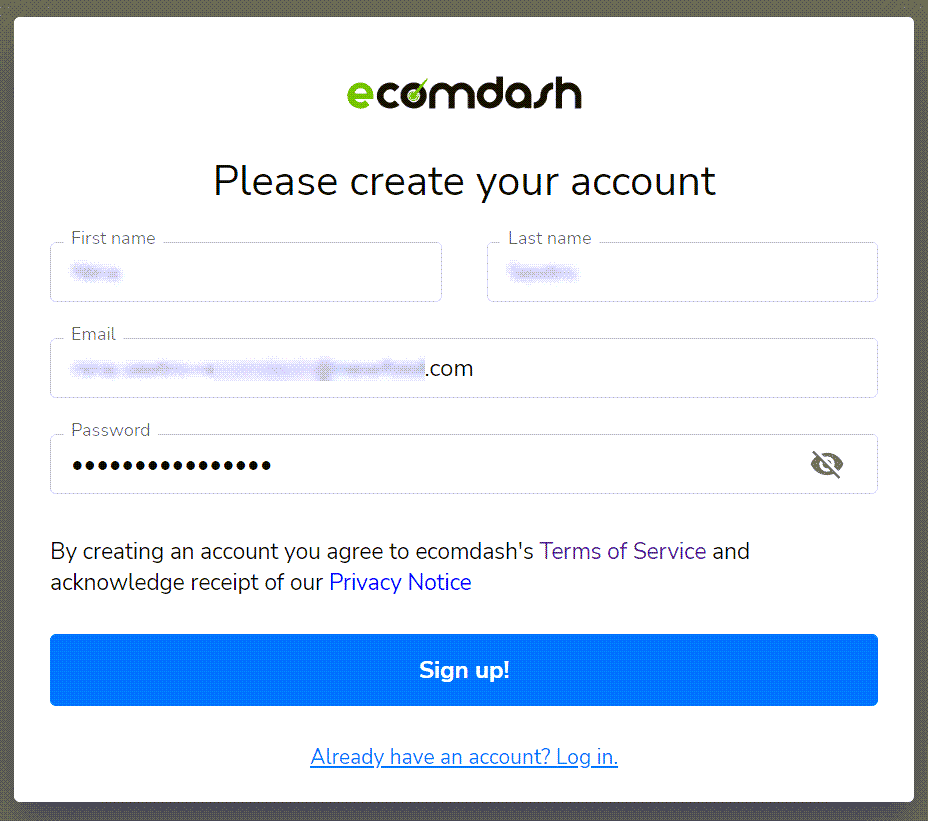
- You will be prompted to set up your Ecomdash account. You can create a new account or log into your existing one through the setup wizard.
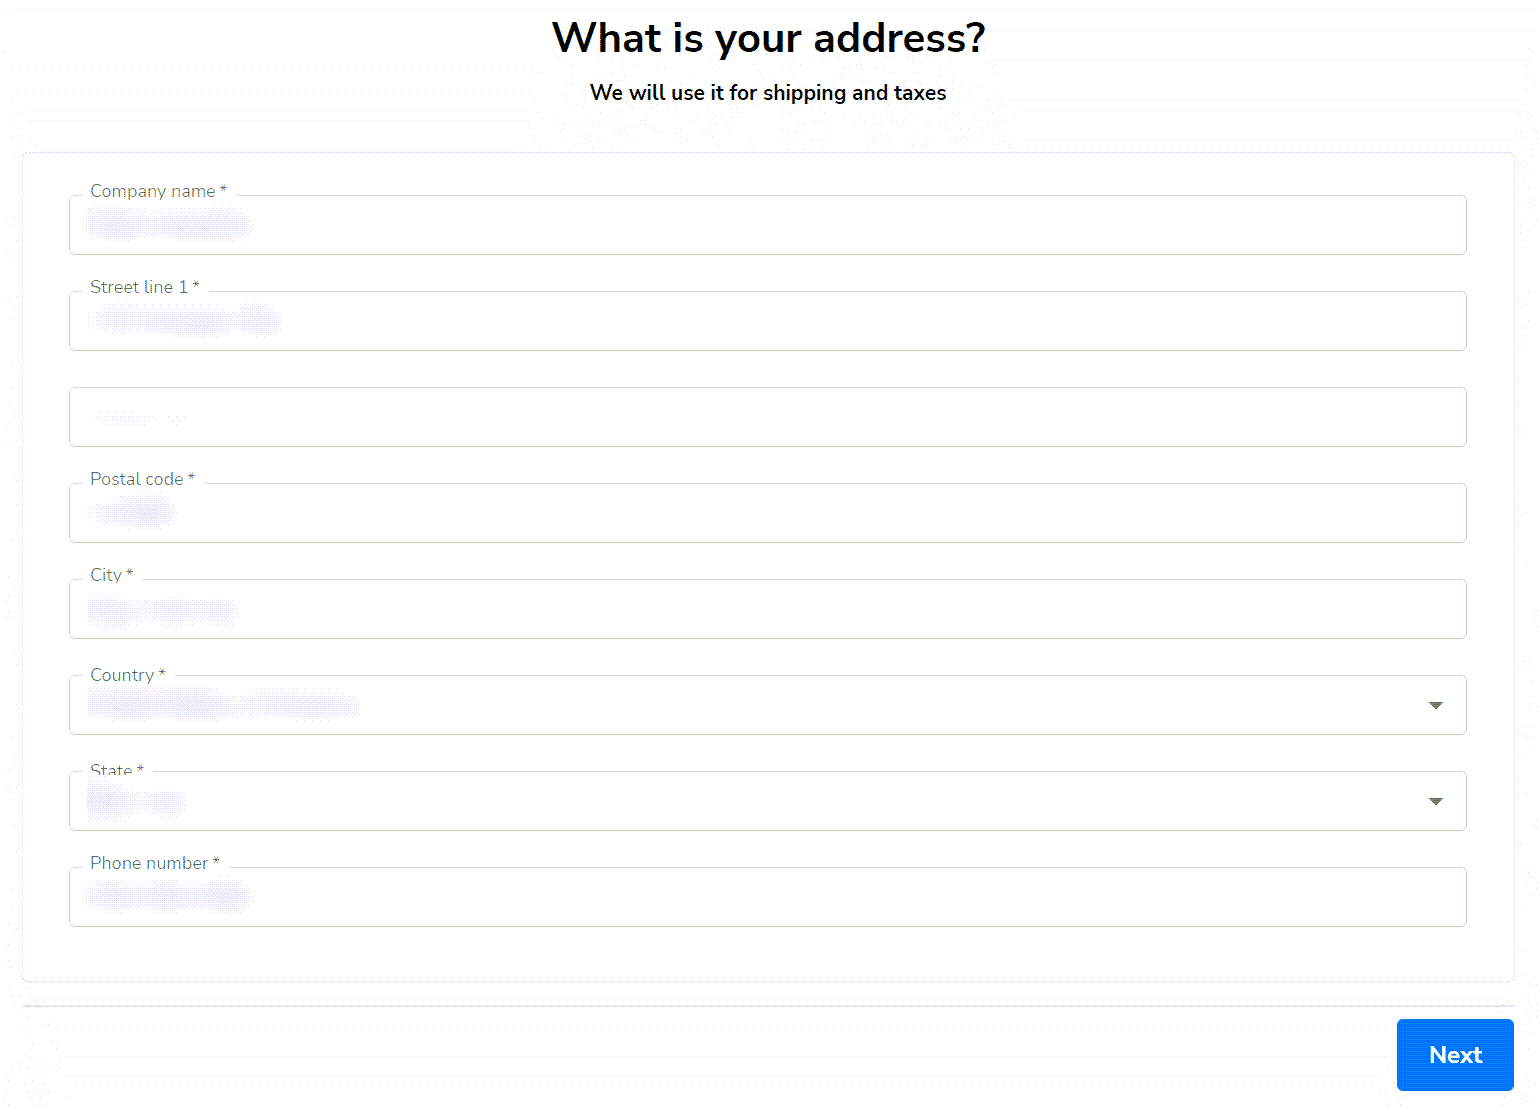
- Ecomdash will automatically populate store details if any exist in the WordPress Administrator settings. You can edit these details or add them if it isn't auto-populated.
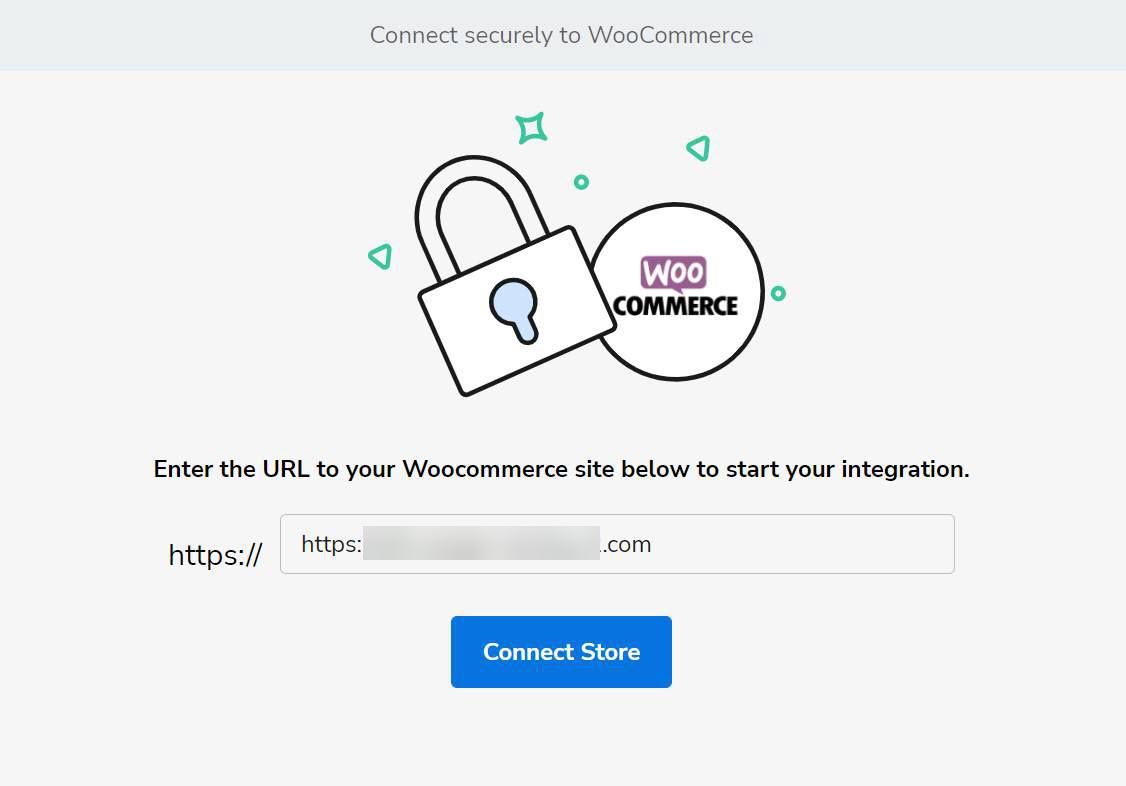
- For Ecomdash to manage products and listings, you must enter the URL for the website you wish to connect. This should be the URL for your WordPress website with us.
You will then be prompted to give your store Ecomdash Read/Write permissions. This is required for Ecomdash to work correctly.
5. After successfully connecting your store to Ecomdash, you will be redirected to your Ecomdash dashboard.
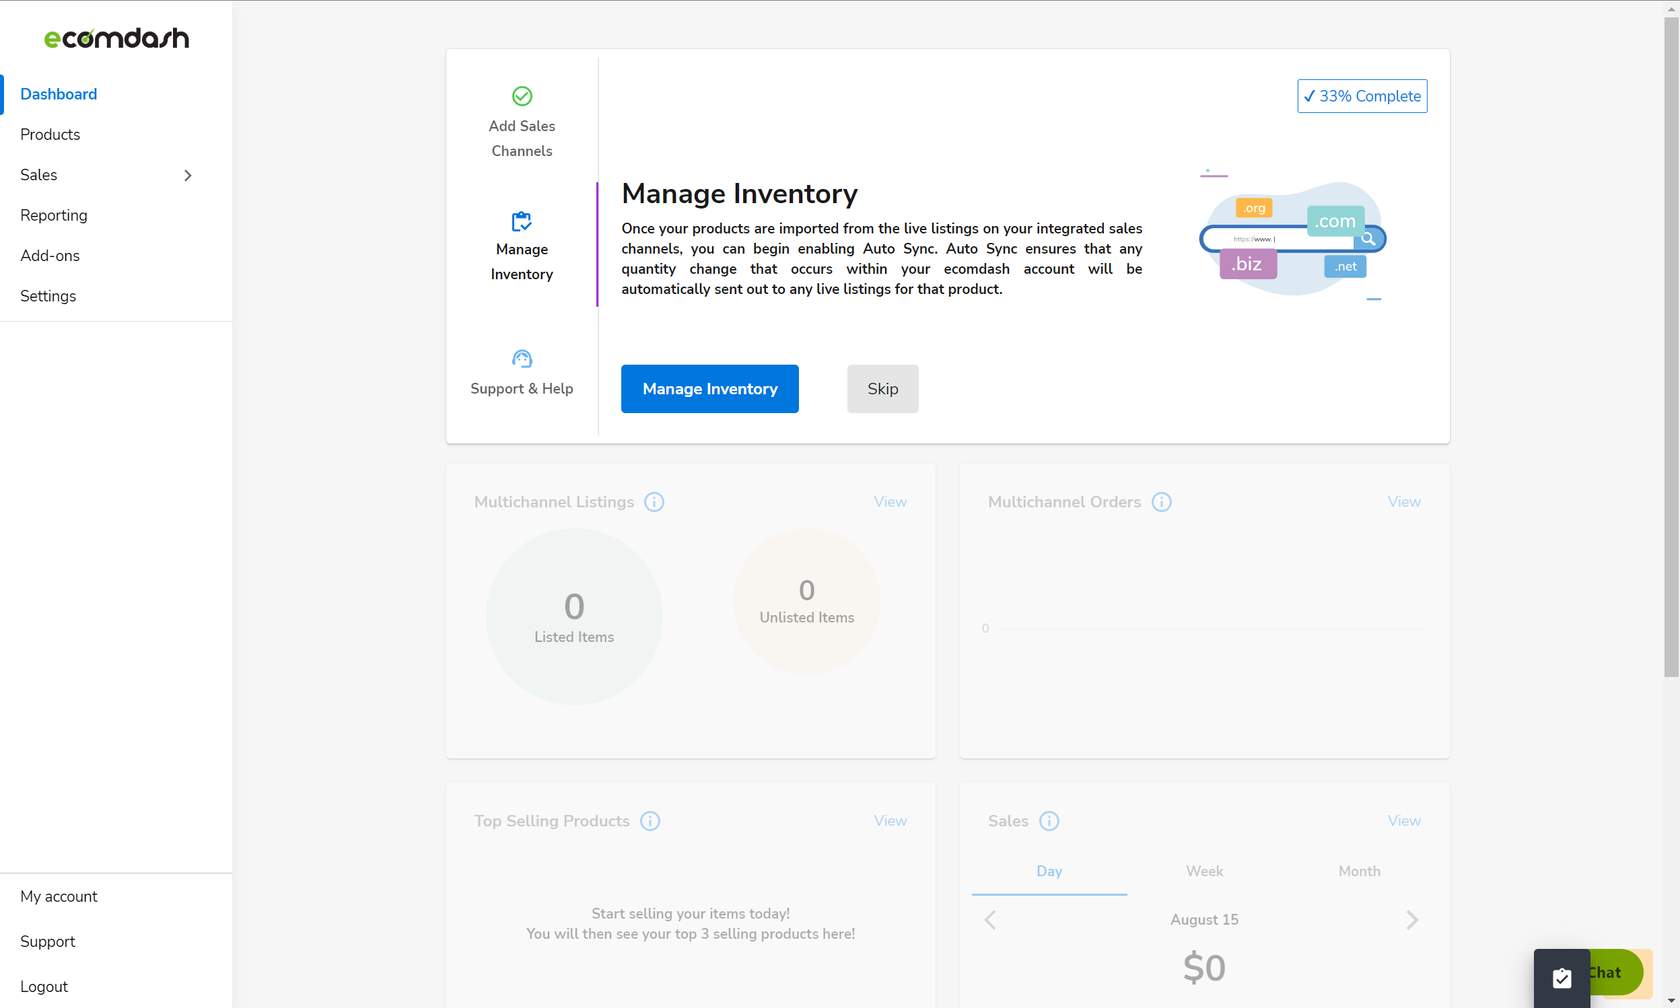
From there, you can add existing sales channels, manage your inventory, products, and sales, and see reporting!
Marketplace Selling
A marketplace is a platform that allows multiple retailers to sell their products -
think of this as a virtual supermarket. Marketplaces (and regions) that are currently supported include:
Etsy | Walmart
(US, CA)
---|---
Amazon
(US, CA, DE, UK, AU, FR, ES, IT, and IN) | Bonanza
eBay
(US, UK, CA, AU, AT, BE, FR, DE, IT, NL, ES, CH, IN, PH, IE, PL, SG, and MY) | Google
Connect Marketplaces
If you have the eCommerce Plus or Online Store + Marketplace hosting plan, you can connect Sales Channels (your existing seller accounts from Marketplaces) to your package. Ecomdash allows you to manage your listings across multiple platforms! This helps you to manage your listings and orders from various sites, such as Etsy or Amazon, all in one convenient place!
Navigating the Ecomdash Dashboard
After setting up Ecomdash, you will see an SSO (Single Sign On) link to log into your Ecomdash account with additional resources under the Ecomdash tab in WordPress.
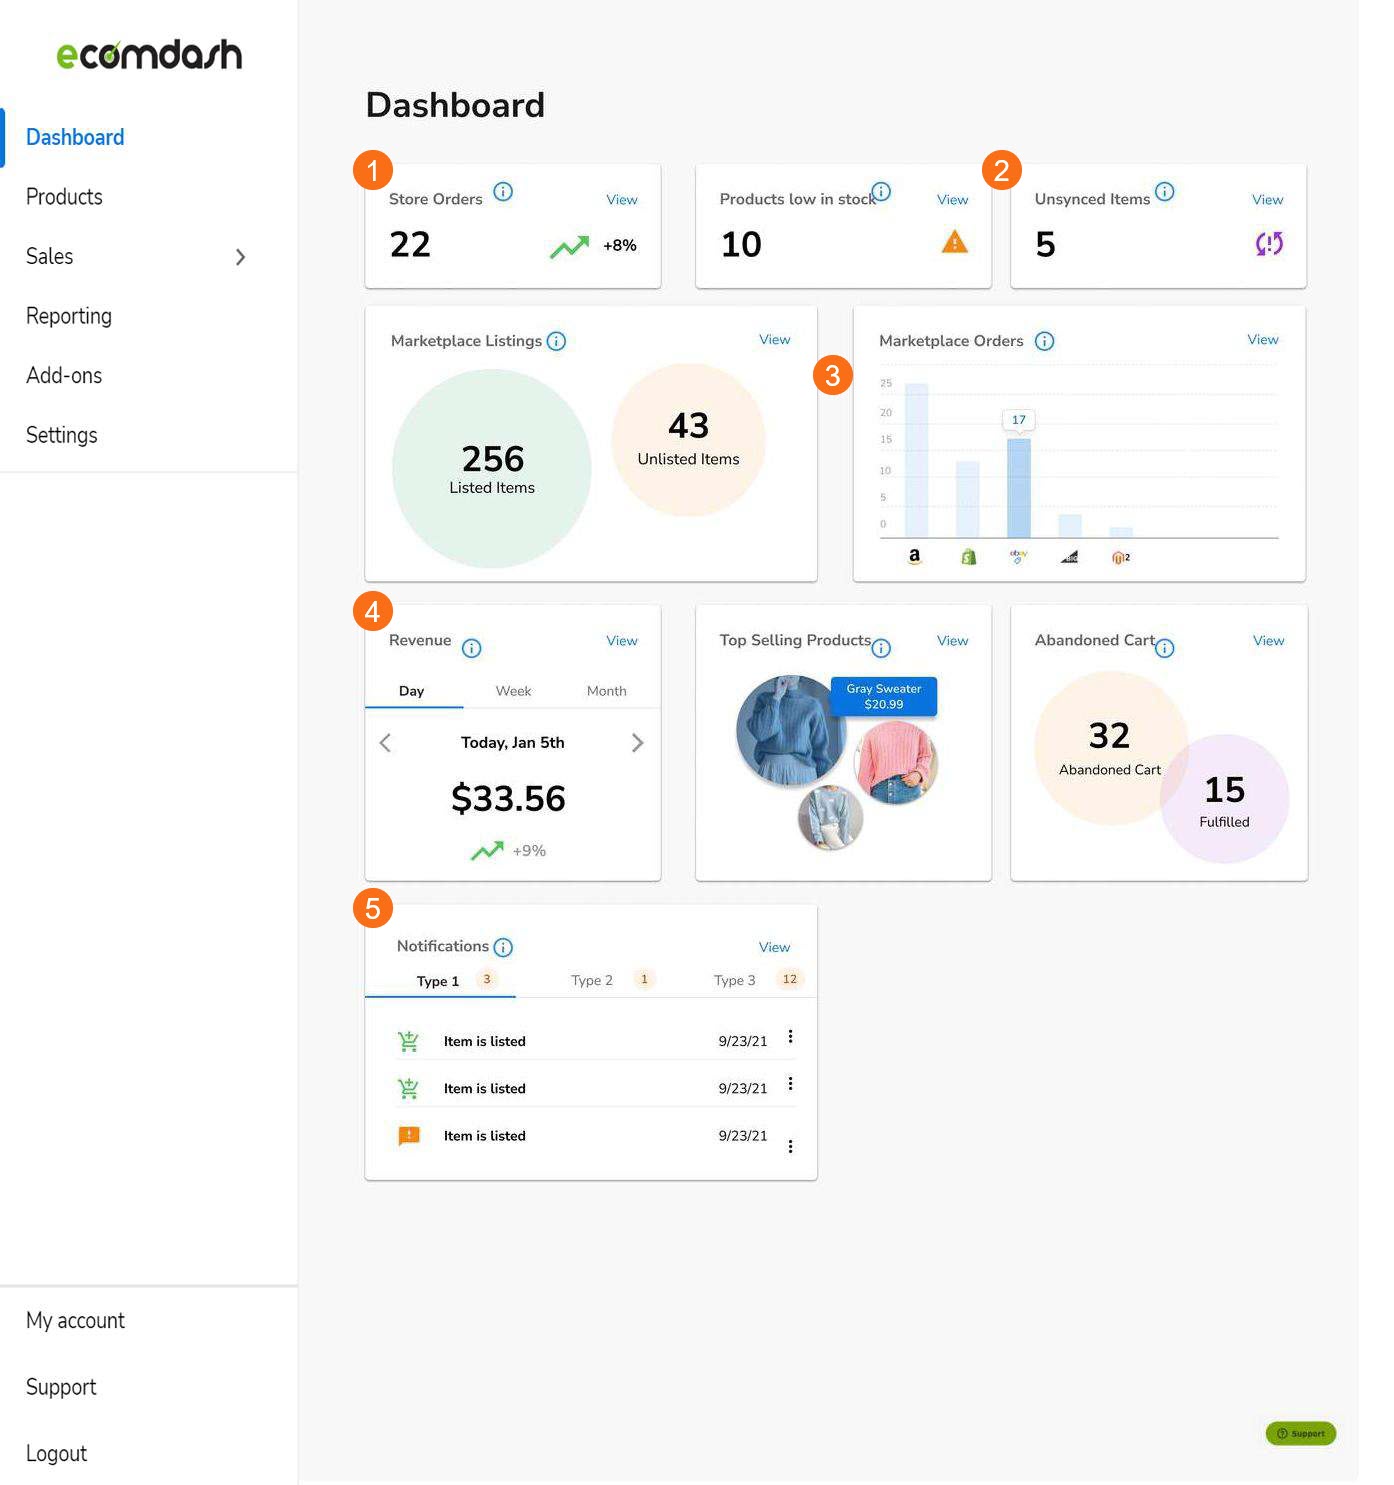
 Once logged in to Ecomdash, you will be prompted to the Dashboard with the following:
-
Store Orders
You can quickly see the current orders placed via your online store, and You can also see the trend of orders frequently from the past week. 2. ### Product Overview From here, you can see your product overview, which includes products that are low in stock and unsync items from the connected marketplaces. 3. ### Marketplace Overview The Marketplace Overview displays the number of currently listed and unlisted items and orders placed on connected marketplaces. 4. ### Additional Store Information This row highlights additional store information such as revenue overview top, selling products, and abandoned cart information (customers who have added something to their cart and did not complete the purchase.) 5. ### Notifications The Notifications overview lets customers see recent actions on the store and connected Marketplace. You can select View to see more information about each notification.
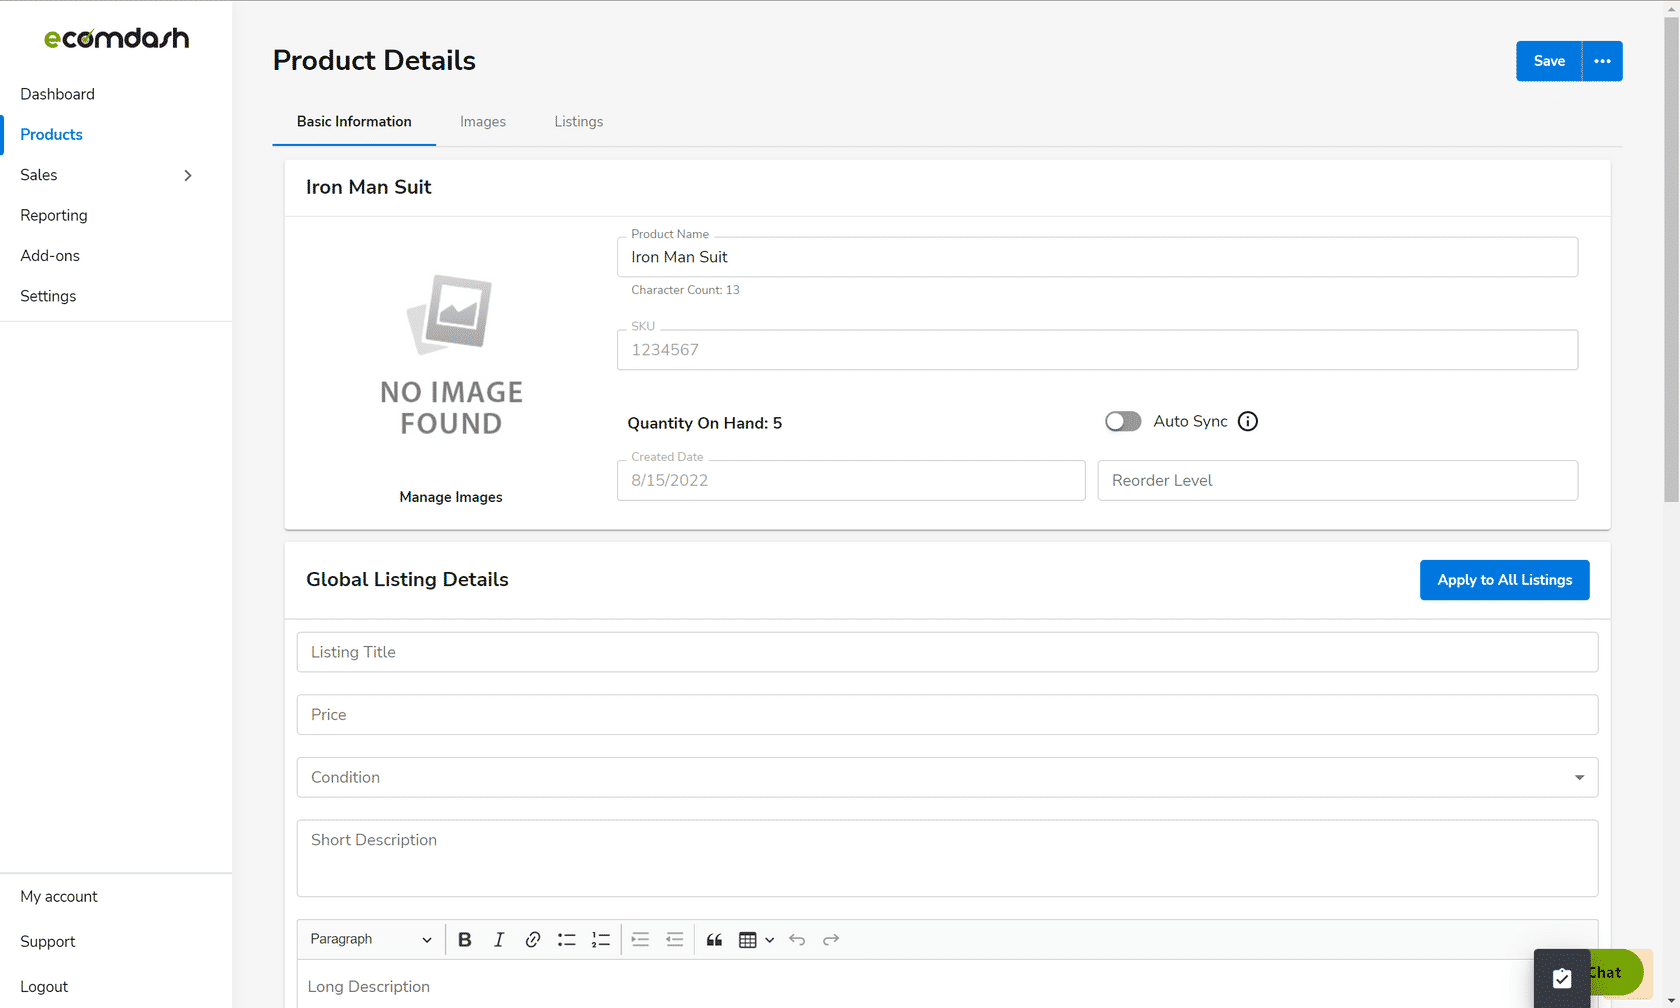
Adding Product Listing Details
You can edit the image, quantity, listing title, price, description, and more in one easy place!